Free Shipping Over $299.99
Orders of $299.99 or more ship free within the continental U.S.
Shipping to Alaska and Hawaii is additional and not included.
We do not ship international at this time.
Injen Cold Air Intake Acura RSX Installation

Steps to install an Injen cold air intake on your Acura RSX
by Chris Dye • August 16, 2024
Tools Required
- Phillips head screw driver
- Flat tip screw driver
- Ratchet
- 10mm socket
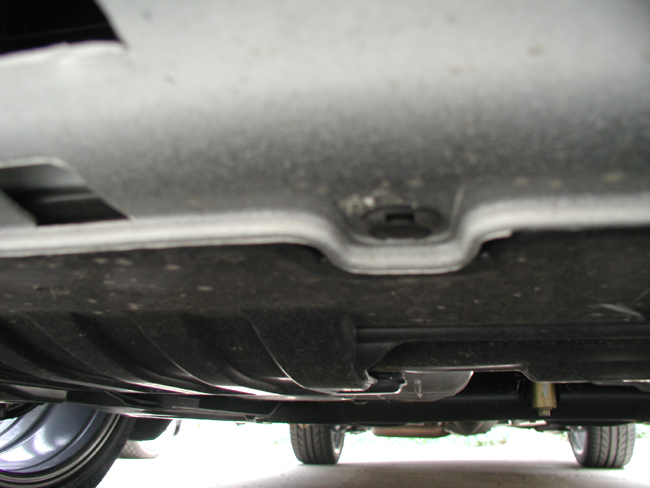
Step One
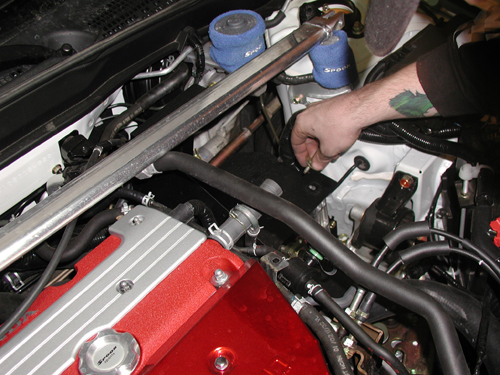
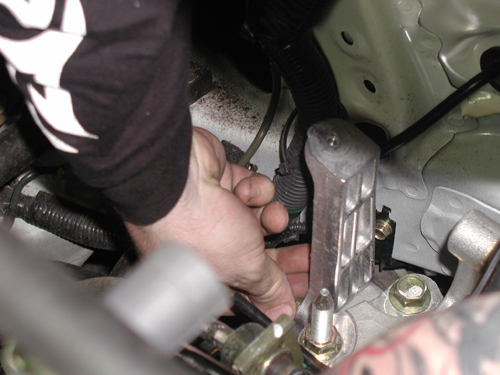
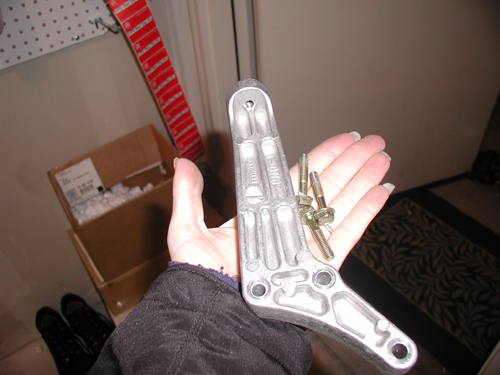
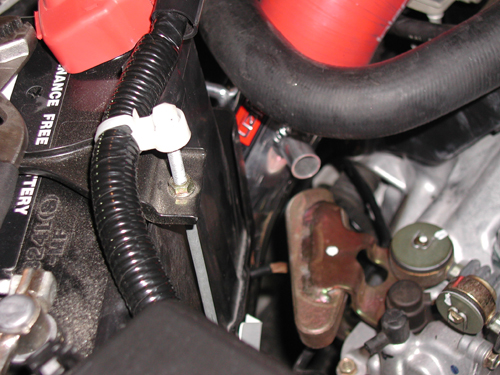
Remove the stock air box or whatever intake you have installed. I removed a bracket that holds the stock airbox or Injen heatsheild. It is not a great weight savings, but it does clean things up in the engine bay. It still looks like something is missing, but not as much.
Step Two
Remove the six clips on top of the bumper. Use a flat head screwdriver and be very careful, these clips like to break. Once the clip starts to release work it out from different sides and that will help reduce the chance to breaking them. Do not force it, just work it off slowly.
Step Three
Remove the six clips on the bottom of the bumper. There are 4 across the center and one on each side in front of each wheel. Also remove the four screws from the bottom of the bumper. There are two on each side in front of each wheel.
Step Four
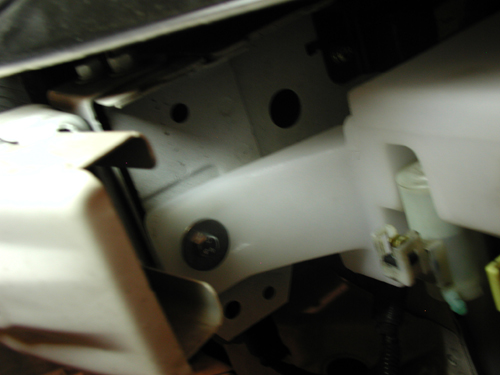
Remove the two screws that are located in the fender well. There is only one screw per side. It is located in between the bottom and the top of the fender.
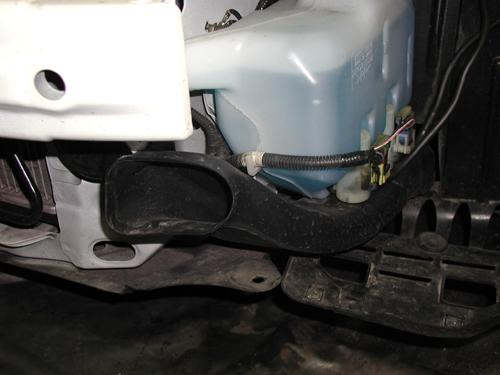
Step Five
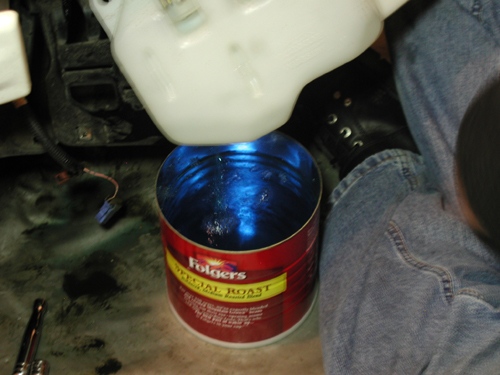
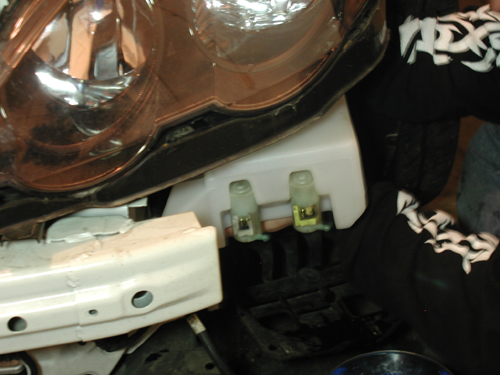
Remove and drain the stock washer fluid bottle. (Mmmm, good to the last drop)
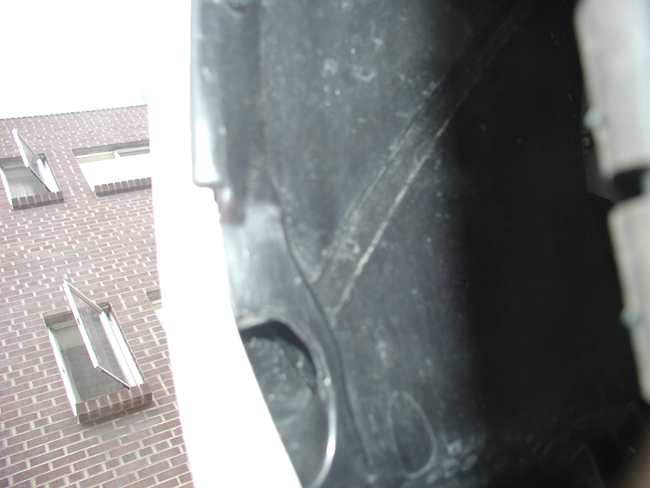
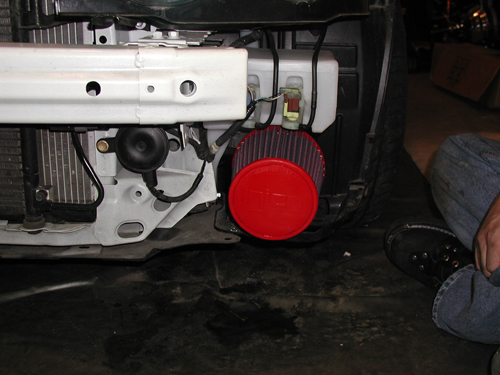
Step Six
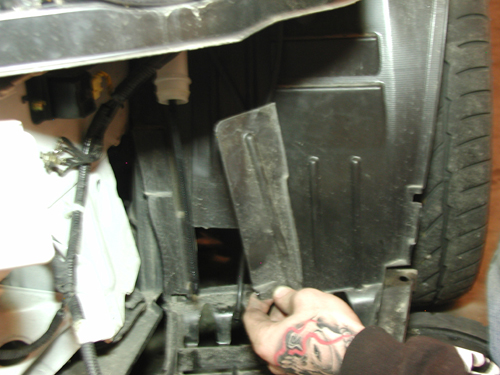
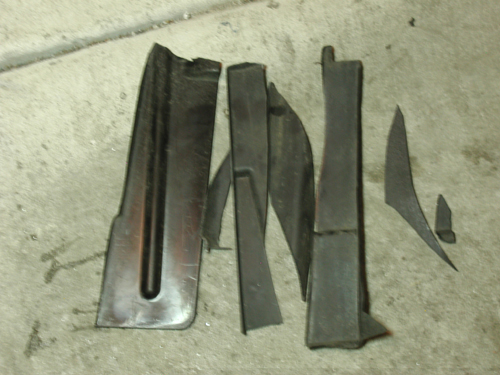
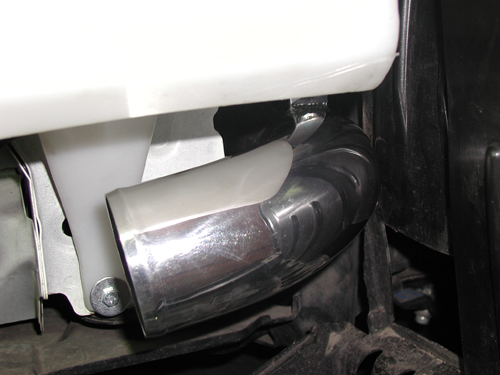
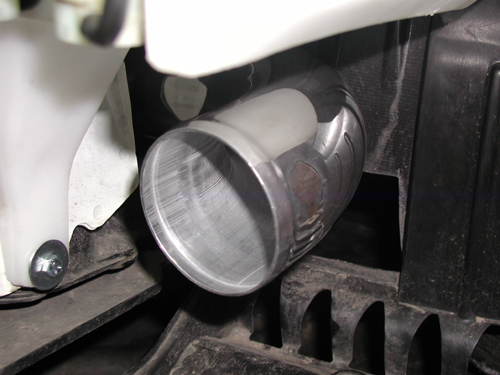
Cut a hole in the fender well to allow clearance of the intake. Looking at the last picture, you can see how much more weight you can save (yes, it is a joke).
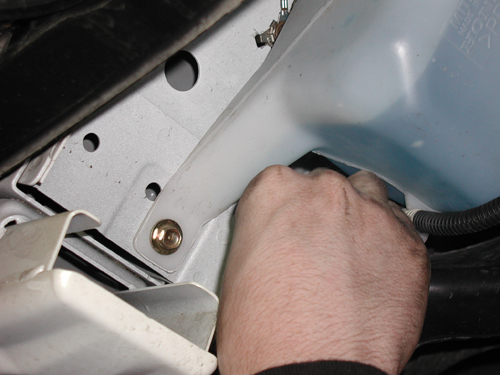
Step Seven
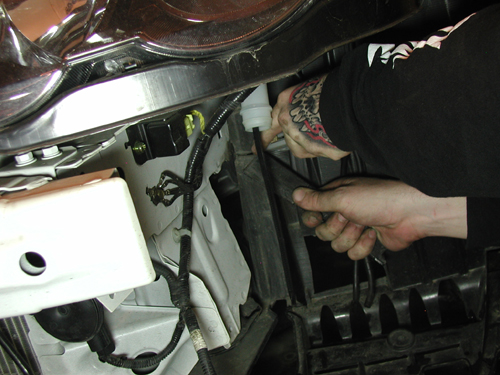
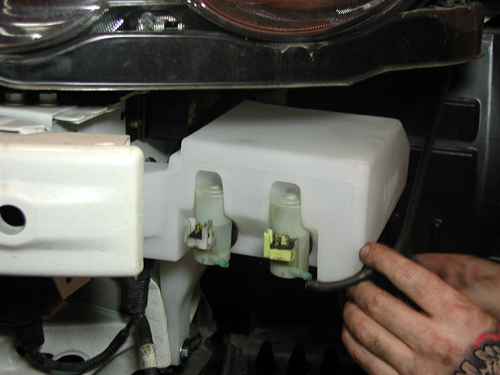
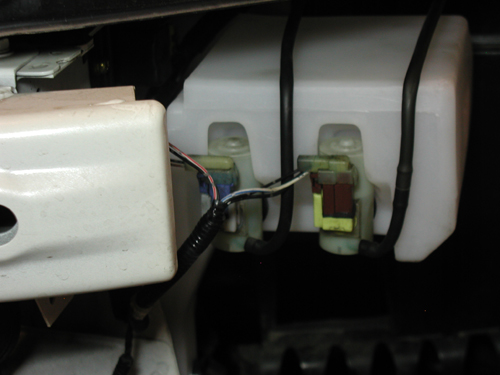
Remove the two pumps and the three grommets from the stock washer bottle. Install the pumps and grommets onto the new Injen washer bottle. Install the bottle using the two screws and rubber bolt.

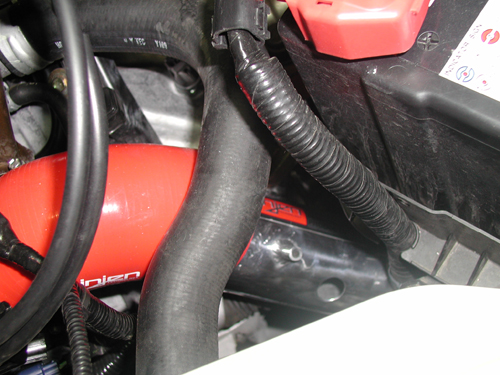
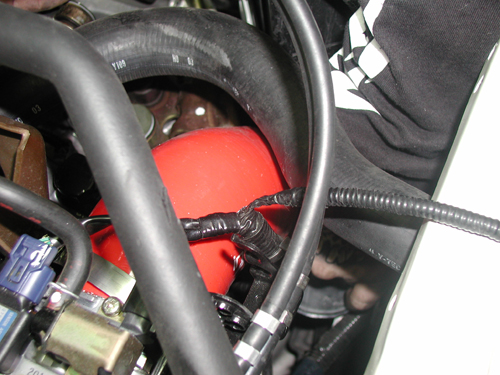
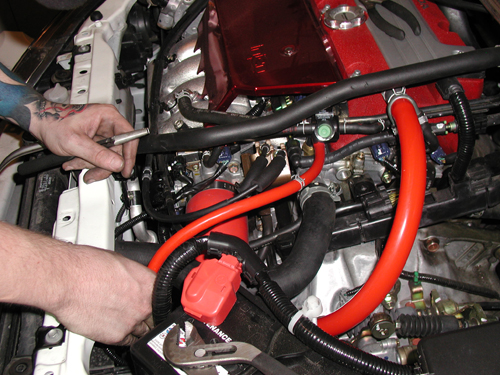
Step Eight
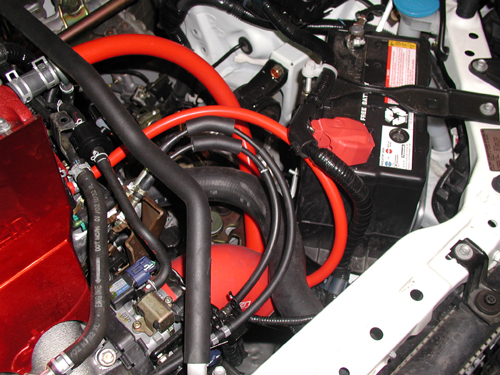
Install the flexible intake arm onto the intake and feed the intake up and through to the throttle body. Make sure you are in 5th gear to make sure you have enough clearance between the intake and the transmission.
Note: You may have to either cut off or bend the bracket that holds battle cable to the battery bracket. Injen suggests that you remove the battery and bracket. This would help the install and help to remove or cut the bracket in question.
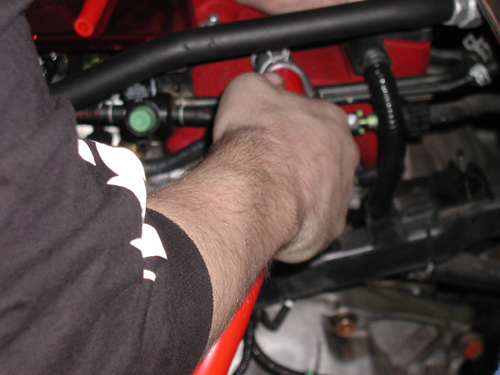
Step Nine
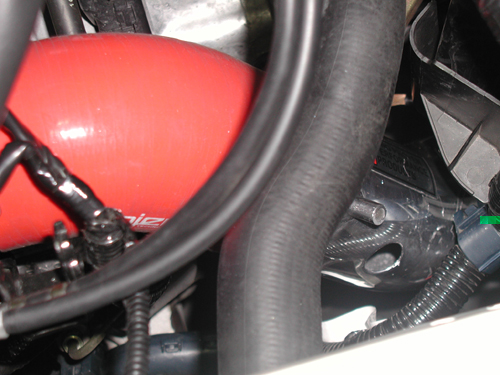
Remove the stock hoses and install the hoses provided in the kit.
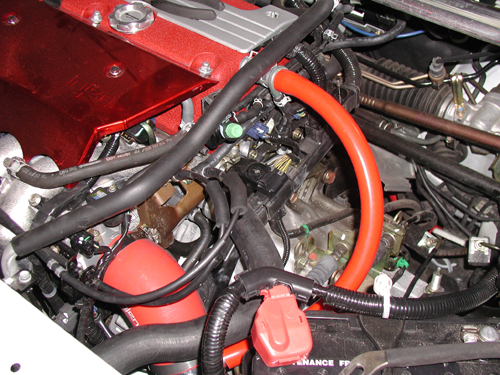
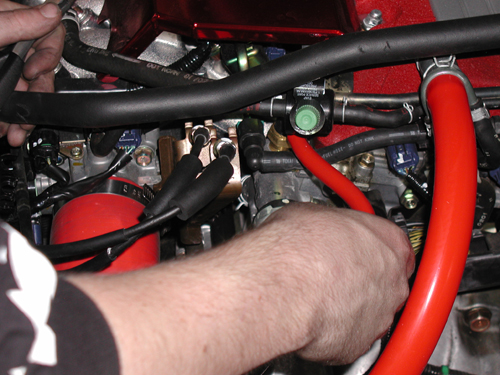
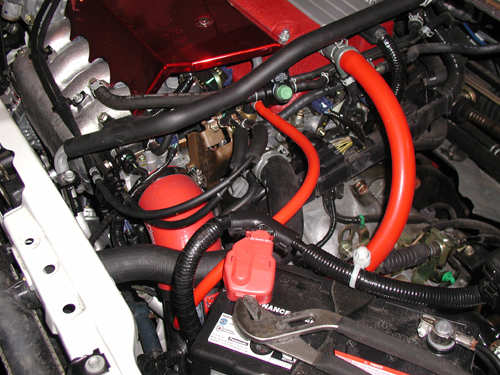
Step Ten
Install the filter and make sure everything is tightened down. Remove the negative side of the battery or disconnect the ECU to reset it. Leave it disconnected for about 5 minutes, reconnect, turn the car on and let it sit idle for about 15 minutes and you will be ready to go!
overall rating:
my rating:
log in to rate