Free Shipping Over $299.99
Orders of $299.99 or more ship free within the continental U.S.
Shipping to Alaska and Hawaii is additional and not included.
We do not ship international at this time.
Acura RSX JDM Brake Duct Installation
Tools Required
- Ratchet
- 10mm socket and wrench
- Small and medium flat head screwdrivers
- Medium Phillips head screwdriver
- Small File
Step One
Remove the six clips on top of the bumper. Use a flat head screw driver and be very careful, these clips like to break. Once the clips starts to release work it out from different sides and that will help reduce the chance to breaking them. Do not force it, just work it off slowly.
Step Two
Remove the six clips on the bottom of the bumper. There are 4 across the center and one on each side in front of each wheel.
Step Three
Remove the four screws from the bottom of the bumper. There are two on each side in front of each wheel.
Step Four
Remove the two screws that are located in the fenderwell. There is only one screw per side. It is located in between the bottom and the top of the fender.
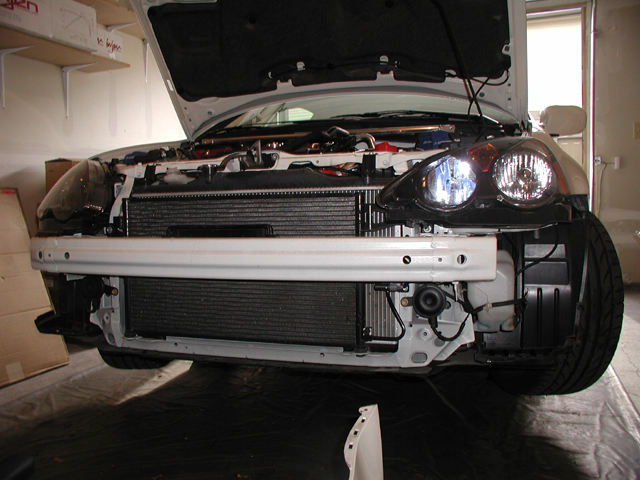
Step Five
Remove the bumper by pulling on sides first and then the middle. Set it on a clean cloth or towel to prevent scratching.
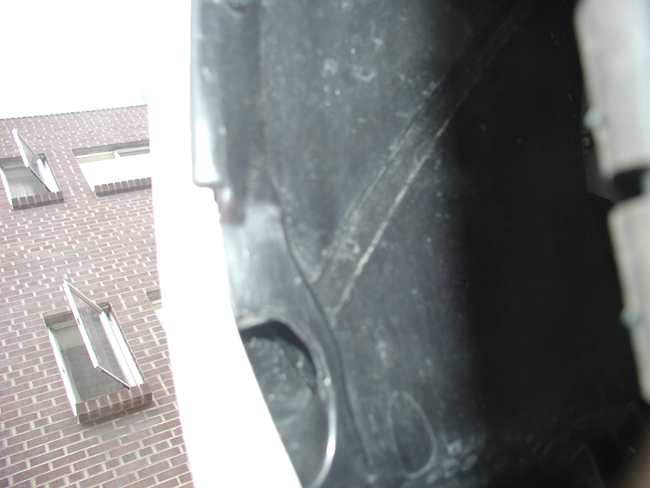
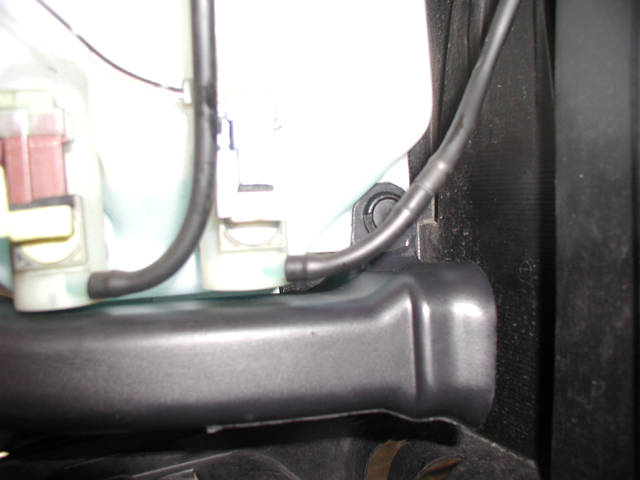
Step Six
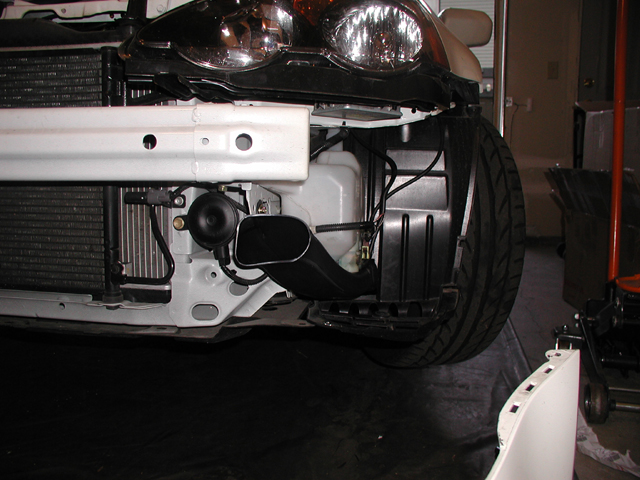
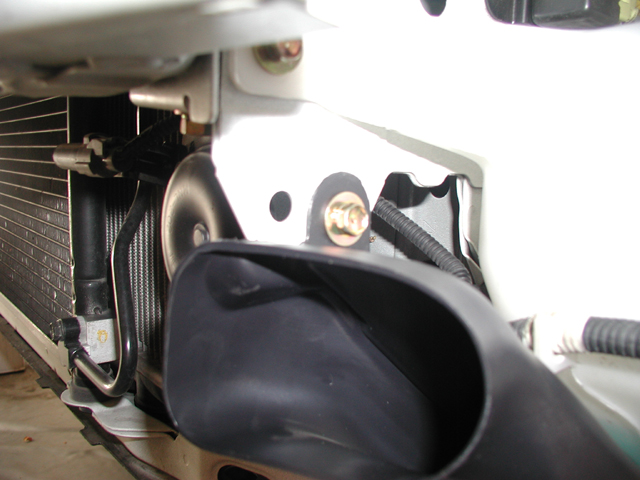
Take the drivers side brake duct (74152-S6M-Z00) and install a clip (91503-SZ3-003) through the hole in the rear brake duct mount onto the hole at the bottom of the washer fluid reservoir.
Step Seven
On the drivers side install the gold bolt (93405-0601608) through the front hole in the brake duct and frame. Attach it using a nut (no part number) on the back side. Tighten down using the 10mm socket and wrench.
Step Eight
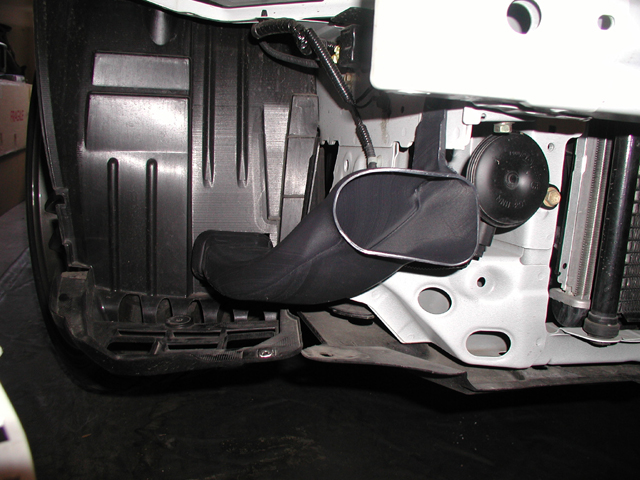
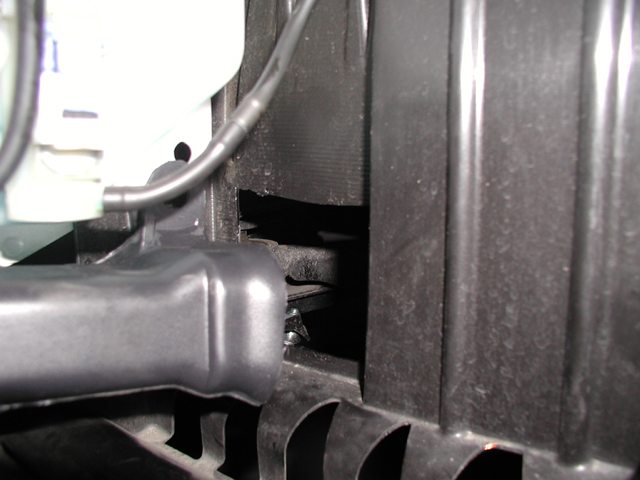
Take the passenger side brake duct (74112-S6M-Z00) and install a clip (91503-SZ3-003) on the top hole and install the black bolt (90138-SM4-003) through the bottom hole. Tighten down the bottom bolt using the 10mm socket.
Step Nine
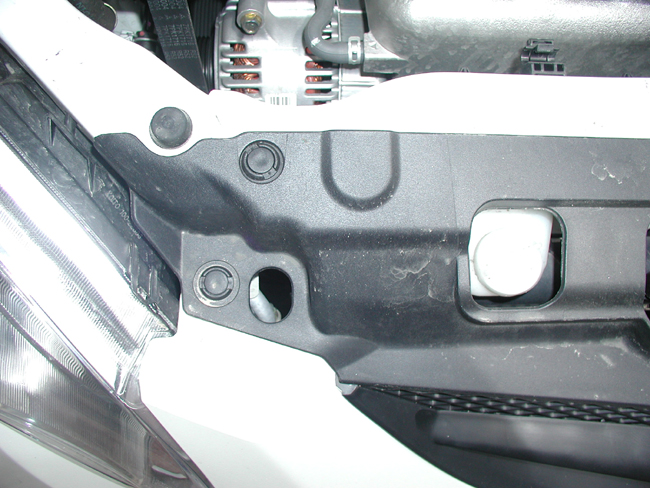
On the drivers side, cut out the a square the size of the brake duct using the template on the fenderwell (Honda included marks to help with cutting).
Step Ten
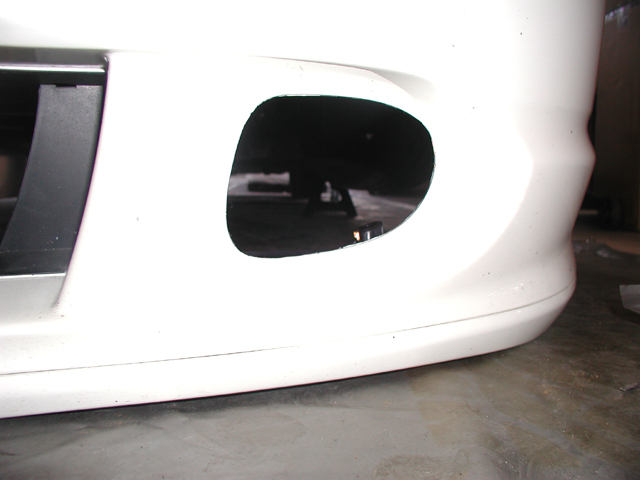
Using an exacto knife cut out the stock grill. You want to start at the small slit and cut on the painted side of the bumper, it is a lot easier and it help you not cut the bumper itself. Be very careful if you try to go to fast the knife will slip and you will cut up the bumper, take your time with this step. Use a file to carefully clean up the bumper and smooth out any spots that prevent the grill and outer cover from fitting properly.
Step Eleven
I installed the ballests onto the fender. The fitment was good and it keeps it protected from the elements. I did this on both sides.

Step Twelve
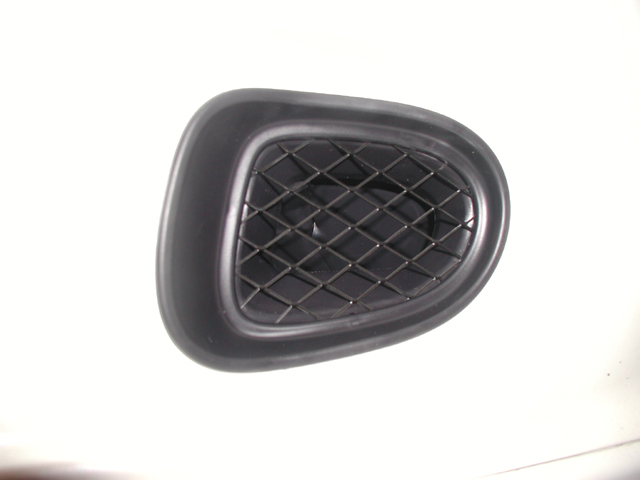
On the drivers side, mount the grill (71108-S6M-Z01) on the backside of the bumper using four of the screws (93913-141G0) provided. Start with hole that is just a circle and work your way around the grill. This will prevent any undo bumper flex and it will make sure the bumper will go back on properly. Take the other grill (71107-S6M-Z01) and install it on the passenger side following the same steps.
Step Thirteen
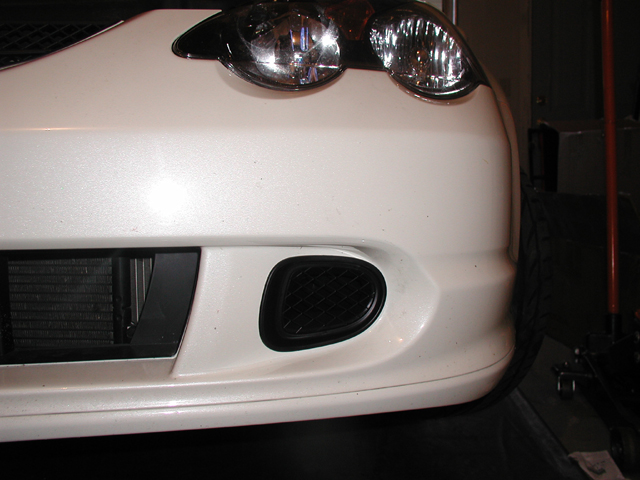
Mount the outer cover (71104-S6M-Z01) on the drivers side. Do the same on the passenger side (71109-S6M-Z01). They screw in on the back of the bumper using three screws on each side (93913-141G0).
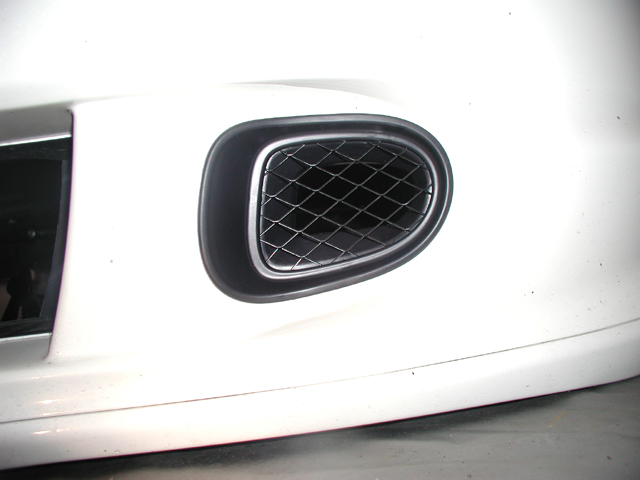
Step Fourteen
Reinstall bumper reversing steps one through four.
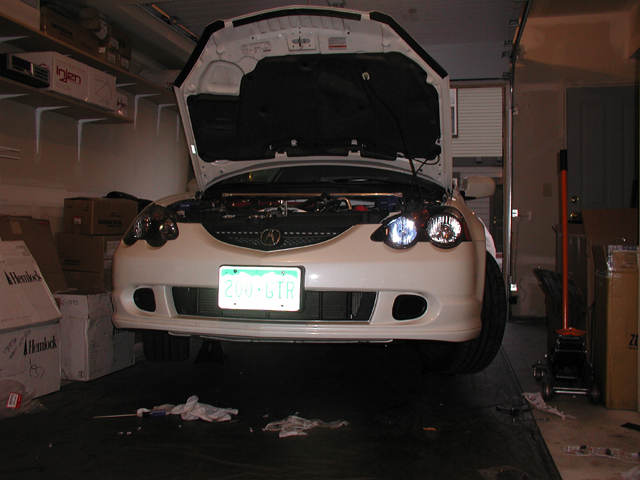
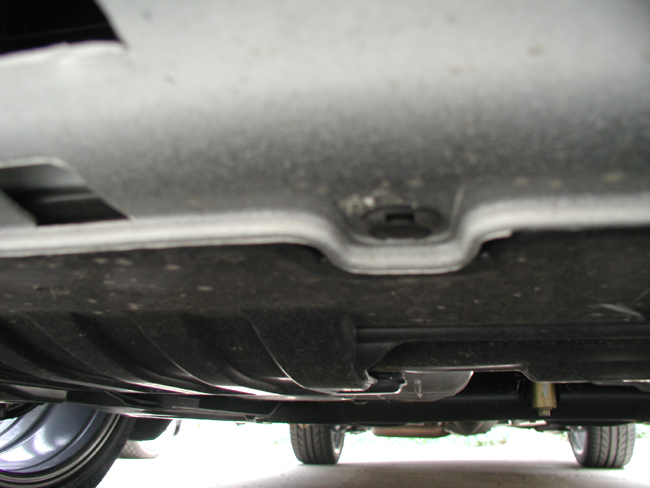
Extra Pictures