Free Shipping Over $299.99
Orders of $299.99 or more ship free within the continental U.S.
Shipping to Alaska and Hawaii is additional and not included.
We do not ship international at this time.
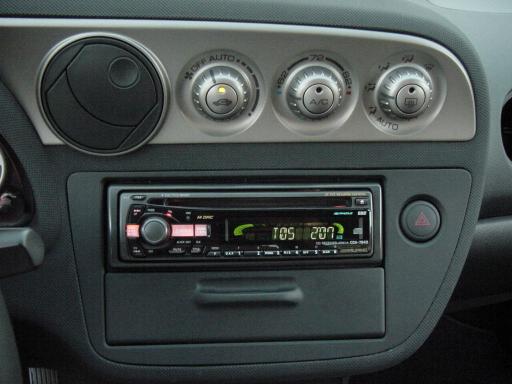
Acura RSX Radio Installation
Parts Required
- Dash Kit
- Wire Harness
Step One
To start off, what you will need to do is locate the center dash panel below the radio and directly above the cup holder/tray and on either side. There is one small area on either side where you can see an slot that you can use your tool of choice to help pop the panel out.
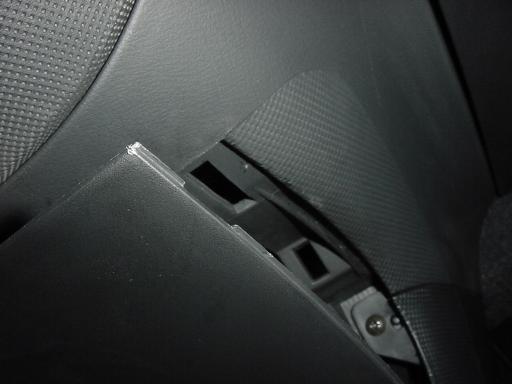
Step Two
This is what it looks like off you can see all the clip locations as well as you will need to unplug the power outlet.
Step Three
Then it gets a little tricky, only because it may require a special tool that some people might not have, either a right angle screwdriver(screwdriver) or a 8mm socket on a flexible extension to get them out, there are two.
Step Three - Additional Image

Step Four
After you remove both the lower screws position your hands behind the plastic *pocket* and push out evenly and the entire dash surrounding the radio will begin to pop out, being careful on the side where the hazard button is because there is less support and more risk of cracking the dash trying to pop the clips out of the dash.
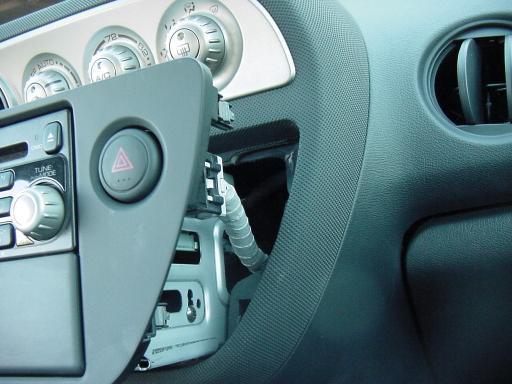
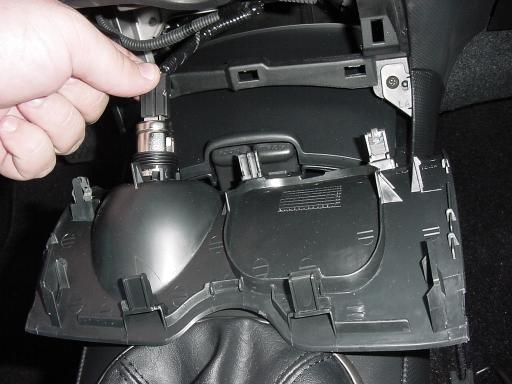
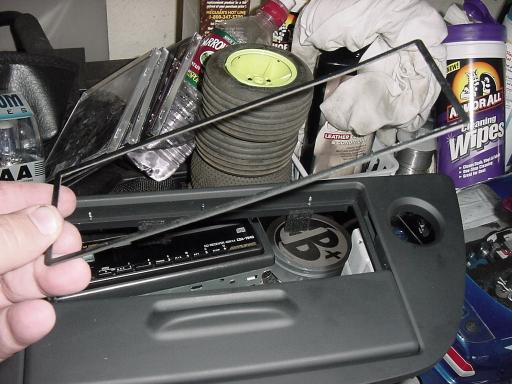
Step Five
Then just unplug the antenna and the hazard switch and radio and its out!
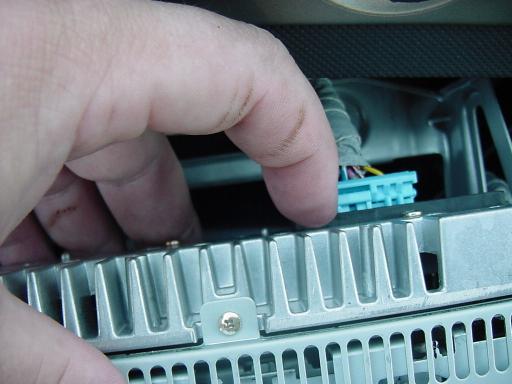
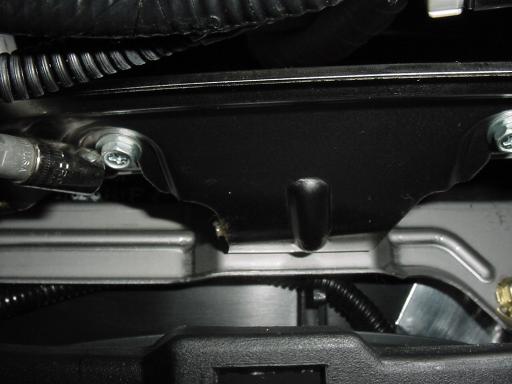
Step Six
After that there are 4 screws holding the radio in that also are 8mm bolts, if you have an 8mm it will probably work better sometimes they are so tight you might strip the head with a regular phillips, but you can try and see what works for you.
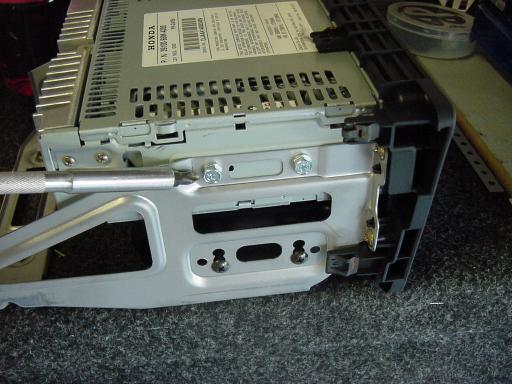
Step Seven
On the other side you will have to remove the 2 screws holding in the hazard button because it is blocking the forward screw holding in the deck but after that it will slide out to the front.
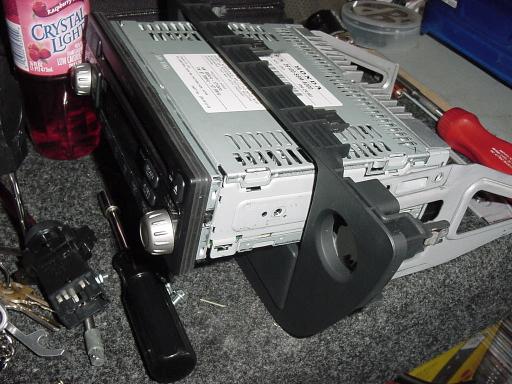
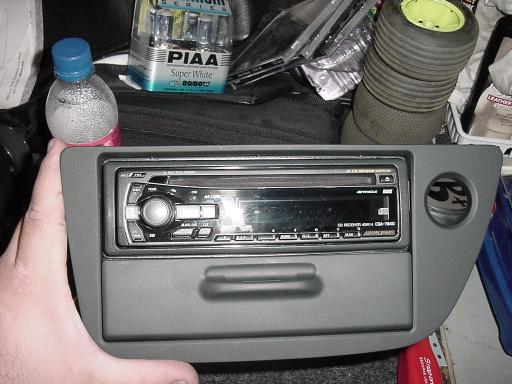
Step Eight
This next thing is optional but I just felt it looked better with this particular unit I had (alpine) to take care of any gaps around the stereo, its a small trim ring that goes between the stereo and the dash.
Step Nine
With that in place I can go ahead and put the new unit back in place of the original and it will bolt back in like the old one came out. You can also opt to use the sleeve that comes with most radios its up to you at this point how you want to mount it.
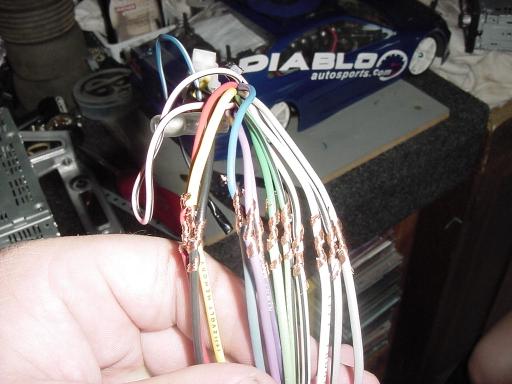
Step Ten
Next is the wiring, you will want to use the adapter harness. Doing so will not cause you to cut any wires in the car, rather match up the wires you have to a plug and just plug it in. I twist the wires and then solder and tape them (as I did when I was an installer at a certain shop) but you can use whatever you want, but be sure to leave no wires uncovered even if your not using them, this can cause things to short out and can only cause more bad then good.
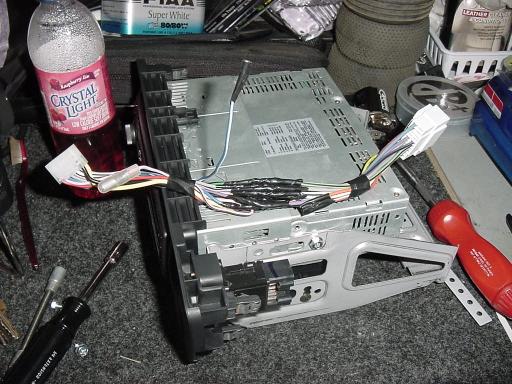
Step Ten - Additional Image
After solder and tape
Step Eleven
At this point, your just about done. Basically reverse the process that you did by removing the stock stereo, go plug in the antenna and the new radio to the harness, and be sure to plug in the hazard switch. Then just pop the dash bezel back in place, and reinstall the two lower screws you took out at the very beginning. This is very important not only for security but for safety because if you were to just snap the dash back on and not screw it in, if you were to get into an accident that dash could come flying out at you and hurt you when you would have otherwise been just fine. Then, snap the lower dash cover back on, and your done!

Step Eleven - Additional Image